
Both mark "decision areas", but they look at the market differently.
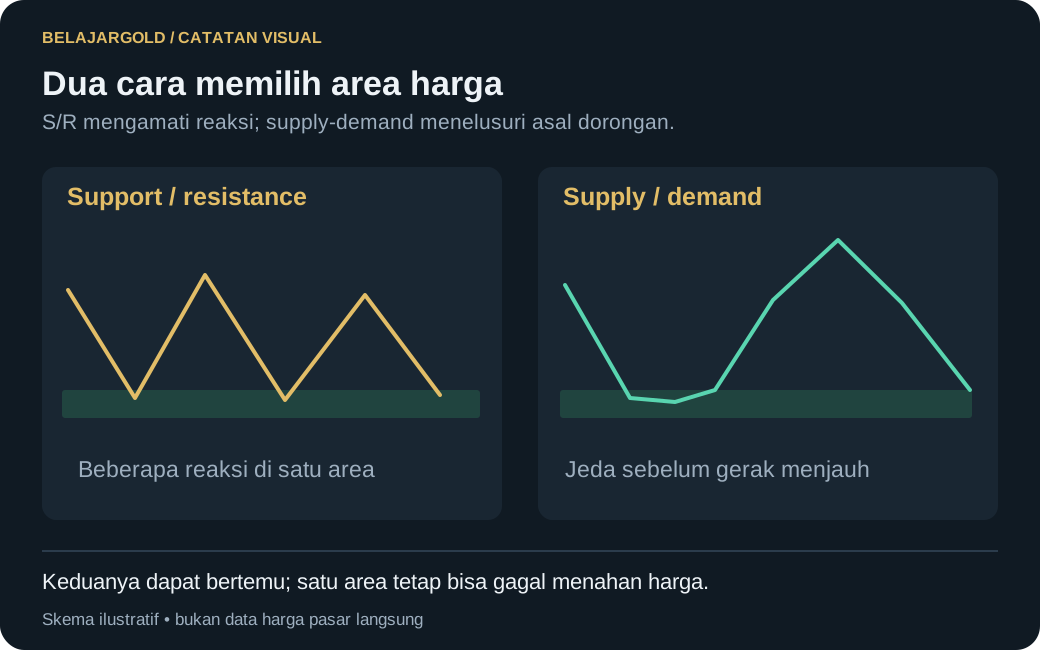
- Support/Resistance focuses on levels that have been tested repeatedly.
- Supply/Demand focuses on the area where an explosive move started, and is often used only once or twice before it is "used up".
Many traders combine them: an S/D zone that sits right on an important S/R level is usually more worth watching.
Save your learning progress
Sign up free to mark lessons as completed and unlock all member lessons.
Sign Up Free
Disclaimer risiko: seluruh konten di situs ini disediakan untuk tujuan edukasi, bukan nasihat keuangan, sinyal, ajakan transaksi, atau janji keuntungan. Trading memiliki risiko tinggi dan dapat menyebabkan kehilangan sebagian atau seluruh modal. Pelajari legalitas penyedia layanan sesuai yurisdiksi Anda.